
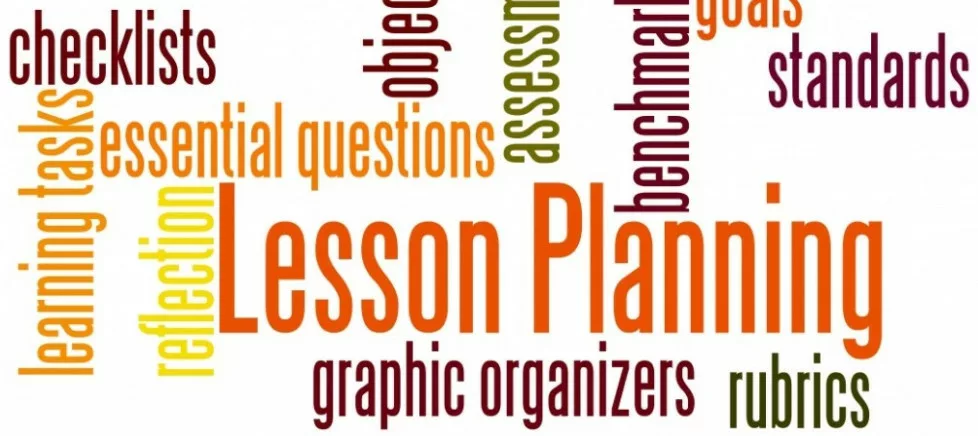
Building a Lesson Plan.
Building a lesson plan is essential if you want a defined outcome for your class. Students and some teachers need structure and a determined direction to move from one learning point to another. And even though you may feel that “after 15 years I can wing it easily”. A lesson plan is like the “ABCs” of learning English. A good lesson starts with a good lesson plan.
I have wanted to provide free lesson plans for all classes. However, after thinking about it I believe each teacher is unique much like their students. And we should be doing our own lesson plans depending on the teaching styles we use.
For example, I use the T.P.R style of teaching or Total Physical Response as it fits in with my personality. T.P.R revolves around using all aspects of communication to teach English. I use body language, visual representations like flashcards or newspaper clippings, and music to enhance my lessons.
Wikipedia has a good understanding of TPR and click the link to find out more.
Mapping Out a Lesson Plan.
It does not take long to map out a good lesson plan and there are a lot of different resources on the internet that can help, from templates to word searches and everything in between.
The following is the lesson I did tonight for fifteen 8-year-olds who need movement in the class to help stimulate the brain cells.
This is what I wrote and what I did. I do not keep rigidly to a lesson plan and if something doesn’t work I will drop it immediately and use something else. What you should take away from that statement is “always have an extra 15-minute segment” that you can use in the classroom if something you have planned does not work.
Also, look at How to Design a Lesson Plan.
Free Beginners ESL Lesson Plan for Body Parts.
I keep my lesson plans short and then that gives me enough room to improvise depending on the students’ questions or responses. The best attribute a teacher can bring to the classroom is the ability to think on one’s feet.
My class size was 15 students and the class time was 1 hour and 30 minutes. I think this is the best length for an 8-year-old class without them getting bored. At 8 years old you still need to move them from activity to activity to keep their minds engaged in learning.
I broke my lesson down into 4 parts.
1. Introduction.
We had two new students starting so I wanted everyone to introduce themselves. At this level, it is not the easiest thing for the students unless you provide an outline for them to write. If you look up ESL introduction templates or images you will have a wide selection to choose from. This is what I chose tonight.

I usually do my class time allotment in 5-minute blocks for younger children and I estimated this would take 3 blocks or 15 minutes.
By the time I had explained everything and the children had written and filled in the gaps, we were on the 11-minute mark.
I then got the children to read and they did a pretty good job so I rewarded them with “points.” It took about 20 minutes for these exercises to be finished.
I used ESL Printables for this.
What’s This Points Thing?
At the start of the class, even before we did the introduction worksheet I split the class into two teams, Boys and Girls. Vietnam is very competitive and it can really help in learning and class control at this age.
There are 8 girls and 7 boys in this class, so thankfully a perfect (almost) split. Otherwise, I would go A and B. The reason I use teams is if they do a good job, I reward them and if they are noisy I will penalize them. Peer pressure is quite a deterrent at this age, and anything that helps in their learning works for me too.
Also at the start of the class, I will go around the class with the alphabet and if anyone gets the letter wrong they lose a point to the opposing team.
I do the same with days of the week and months of the year and numbers from one to 50. It is a great way to review the basics or go over a past lesson.
2) Body Parts Game and Video.
Because my whole lesson revolves around learning new body parts and learning the correct pronunciation I use all the different TPR styles that I can in 90 minutes.
The game is very basic but extremely funny. The students must follow you in touching various body parts. You get them to watch and participate 4-5 times and then they have to do it (as a group) alone. For example, I will say…touch your nose…touch your eyes…touch your mouth, etc, and they must follow your actions. I one team member gets it wrong they lose a point to the opposing team.
I break it up with, stand up, sit down, and raise your left arm (watch how many copy and still follow with the right hand) Thus you have to teach left and right. I blocked this out for 2 units of time followed by a video that ran for 5 minutes.
I improvised after the great video and handed out a sheet of paper for the students to listen, follow, and draw the face that was explained in the video. It was an easy video for the students to follow and we all had a lot of fun. We ended up watching the video twice because of the improvised drawing and the time stretched out to a 25-minute block.
3. Body Parts Writing and Matching.
After a few minutes of very noisy activity, I had to quiet them down and get back to doing some writing and matching words to their respective body parts. There are a lot of great worksheets for this and this is the one I used today.

Body Parts
After the students completed this chart, we read out the body part names for pronunciation purposes and then we had a flashcard game. This game uses the “family and friends” body part flashcards.
I then go individually through the flashcards pronouncing the words and placing them face down on the ground so the students do not know which card is which. I then choose one person from each team to come and pick a card that I have asked for. I may have said “I want a nose”, and they may pick up an arm…Lol, no points. If they get the correct card then it is 2 points for the team.

I estimated this would take up 3 blocks of time or 15 minutes and I was almost correct, it went for 20-plus minutes because the children didn’t want to stop. If you are looking for Flash Card games click on the link to an older post.
4) Wordsearch and Final Game.
Even though I am not a big supporter of word searches as they can sometimes be overused by teachers who don’t want to teach, I do sporadically use them myself. Especially for the younger students and as a reward if the lesson has gone well and the students seem to have absorbed the content of the lesson

.This word search is from English 4Kids.
You can also use these types to elicit the spelling of the words from the students. This took about 10 minutes.
My Final activity was reinforcing the new vocabulary by getting them to stand up, touch your eyes, nose, mouth, hair, etc.
The Girls won and then we all went home.
Final Thoughts.
It needn’t take a lot of time to write a lesson plan and it should be flexible enough to change at the drop of a hat. Some of my best lessons have happened when I left the boundaries of the lesson plan.
The lesson plan took me less than 15 minutes to do, although I have been doing them a long time and know where to get most of my resources. I also have 15 years of material for teaching in several folders. Prepping time has become much shorter.
But a good teacher should always prepare a lesson plan for no other reason than to determine what you want to get out of today’s lesson. What improvement do you want to make to your students English skills?
Steve the ESLMAN
Some links on this site may be affiliate links, and if you purchase something through these links, I will make a commission on them. There will be no extra cost to you and, you could actually save money. Read our full affiliate disclosure here.